
How to update the photo gallery
Hi ho Mark! The photo gallery page with the clickable thumbnails needs to be edited separately from the pages that feature each lichen species. It is a page just like all the rest of the pages, consisting of little pictures that are manually set up with hyperlinks to the respective web page that features each lichen. Because the setup is a custom one, the format of which isn’t straightforward using the WYSIWYG “visual” editor, the best way to approach this page is through the “text” (html) editor rather than the “visual” one. This can be done without understanding html at all, but a little of the meaning of the various “html tags” may become evident.
As an example/tutorial I will do this for your new Ramalina americana entry.
When you go and “edit page” the photo gallery page, first you will probably see this “visual” editor. There is a tab to switch to html (“text”).
Switch to text.
Html is our friend!
What you see will be html “tags” that direct the visitor’s browser to display text and images in a specific way, by giving the web address of the respective image, and hyperlinks, and text, and stuff like that. The only part we’re interested in here is the part that creates the image thumbnails, which is repeated over and over like the nearly identical segments of a centipede.
In the photo below, the html that produces just one of the thumbnails is marked off by the hand-drawn brackets. Copy any one of those blocks of text and paste it where you want the new thumbnail to be (in alphabetical order).
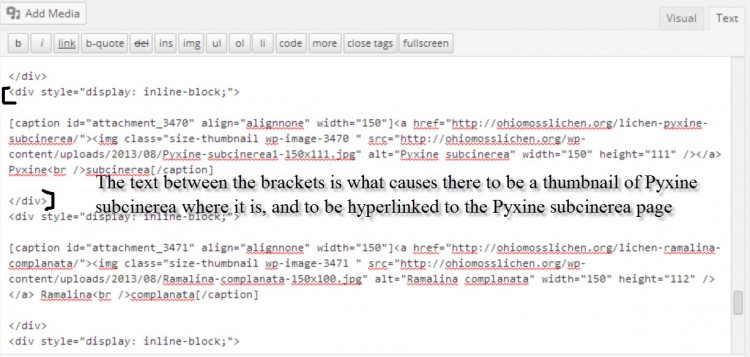
html for one thumbnail
By pasting an existing thumbnail’s html, the result is an exact duplicate of that thumbnail, hyperlink and all, very eager to be changed into the thumbnail we want.
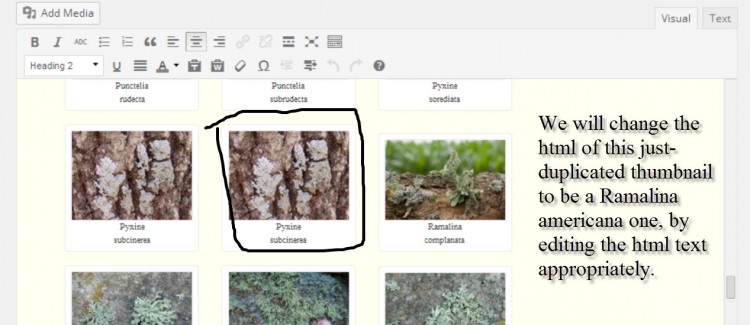
duplicated thumbnail image
The changes we need to make are simple and tricky at the same time. A necessary ingredient is an understanding of how WordPress deals with images. There are two factors:
a) image LOCATION: when you upload images, they automatically go into a folder called ohiomosslichen.org/wp-content/YEAR/MONTH/imagename.jpg. (Where I wrote YEAR and MONTH, the actual year and month are given, such that every month’s image uploads go into their own folder.
b) image NAME: when you upload an image, if the image it is bigger than 750 pixels wide or 650 pixels high, it will put that image in the folder full sized with no change to the file name (except to add a numeral to create a unique file name in the case of duplicated uploads) and also create three smaller versions –large, medium, and thumbnail –each with an amended filename that indicate its dimensions,. The large version will have 750 (or 650 in the case of tall images) as part of its name (and size in pixels), while the medium will have 300 as its longest dimension, and the thumbnail will be 150.
![]()
You can see the names of the image files for two versions of the R. americana image below in the URL in the browser address bar.
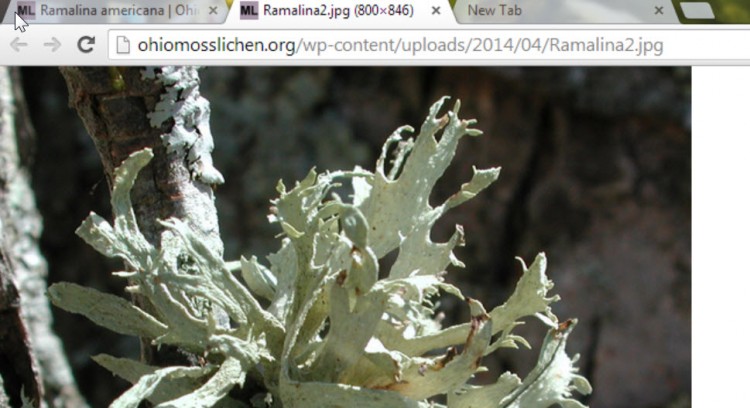
This is the original full size image.
See the thumbnail, its image name is the same as the original except it ends in -141×150(.jpg). The exact name/dimensions will depend upon the aspect ratio of the original image, i.e, how it is cropped. I like to keep mine the same ratio as a DSLR image (3:2) so very often a thumbnail will be -150×100, but it doesn’t have to be that way.
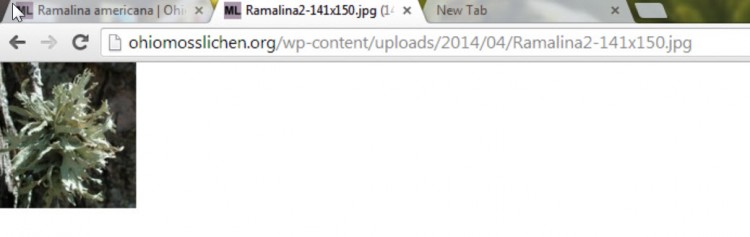
This is a thumbnail.
So how can you figure out what the exact file name is for your image thumbnail? If you know the exact original aspect ratio you can probably figure it out arithmetically. Otherwise, or maybe just as easy, create a temporary dummy page into which, using the “visual” editor, you insert via the “Add media” tab the subject thumbnail, and inspect and then copy the respective html which you can ascertain by navigating to the “advanced” tab of the image editor you get when you hover over the image (or by going into “text” mode).

The underlined parts need to be changed.
See above. The underlined parts need to be changed. They’re probably self-explanatory.

The text has been changed. Hooray!
If all goes well, there will be a new thumbnail that hyperlinks to the new page for that species. If not, then there is some petty little file name mistake to be tracked down.
How to add photos and make new pages, Mark.
Hi Mark. Here is a step-by-step guide to adding photos to the OMLA web site. Since the photos, at least some of them, are new species, and since making new pages is part of the web site skill set I’m trying to coerce you into becoming an enthusiast of, I’ll also show how to add new pages to the lichen photo gallery.
COPY TO A NEW DRAFT PAGE
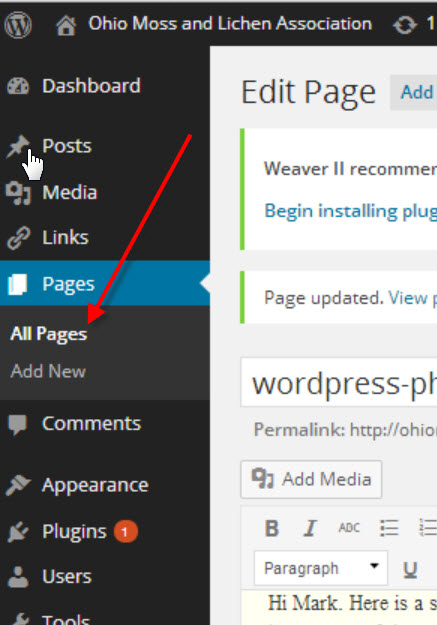
Because we’re creating new pages of a certain type –lichen photo page –the best way to approach that is to “COPY TO A NEW DRAFT” an existing page that has the format we want, rather than making a new one. Let’s find a page we want to clone. There are two ways to do that. One way is is to go to the “Pages” menu on the dashboard and search for a sample lichen photo page, and then clone that page.
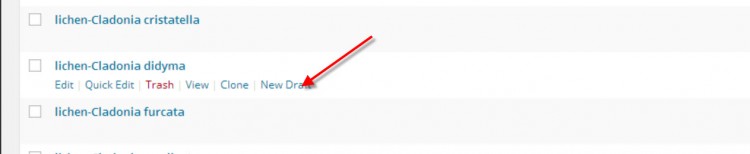
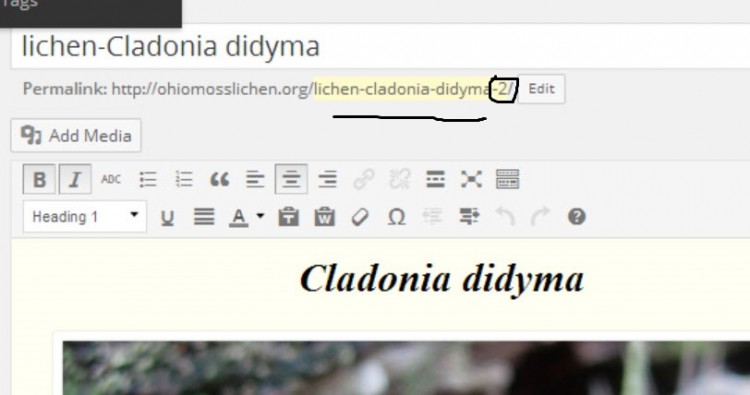
Now lets search for an existing lichen page. I chose to use “didyma” as a search term because that name isn’t on too very many pages. See I see 4 pages that include that word, two of which can be used as a template for the new page.

Thanks to a “plugin” called “Duplicate Posts” when you hover over a page you are given the option to copy that page to a new draft.
When you do that, you go to editing a new, as yet unpublished draft page having the URL (“permalink”) name of the original, with a -2 appended to it.
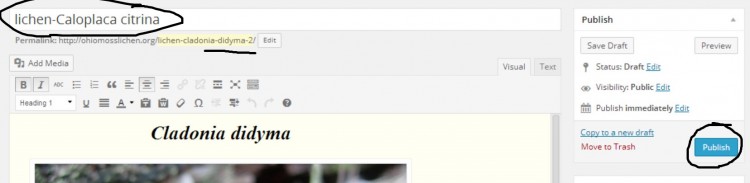
Notice also that matches the name of the page in large letters in that white space above the permalink. Since this page hasn’t been published yet, it’s eager to get a new name. Delete the original lichen’s name and write the new one in. Then “PUBLISH” the page…
…and see that the permalink changed to the new lichen page URL.
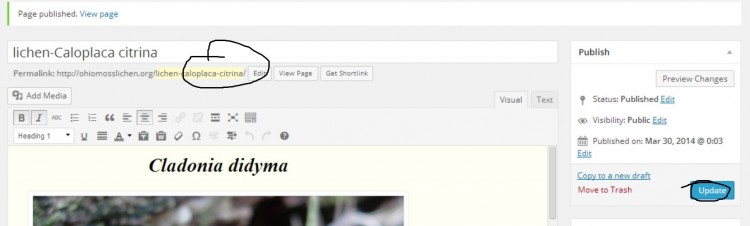
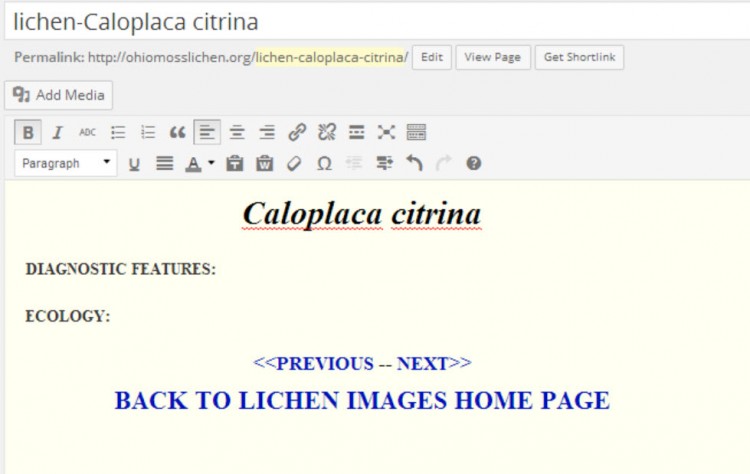
Now the new page needs to have inappropriate content removed, and new stuff added. Change the header of the page (font is “header 2”) and delete the image and all the text except for the boilerplate we want to use on the new page.
ADDING CONTENT TO THE NEW PAGE
The webmaster made an executive decision that for these lichen image pages, the image size will be 750 px wide. That can be accomplished two ways: (1) they can be resized down to 750 px from whatever size they are on your computer. (A little facility here with Photoshop or some-such comes in handy.) Alternatively, they can be uploaded at a larger size, and WordPress will automatically create several different-sized versions of the photo: (1) original, (2) 750 px wide, called “large,” (3) 300 px (“medium”) and (4) 150 px “thumbnails.” After doing it differently for a long time, I’m now moving towards uploading at 2000 px wide, then choosing the “large” size for the gallery, but have’t done the pages that way up until now. (All the pics have been uploaded at 750 px and embedded original size.)
Go to “Add Media” on the page editor (or to the “media” tab on the dashboard).
Navigate to the photo on your computer and upload it. Once that’s done, add caption and “alternate text (the latter is the name of the lichen), and insert it into the page at the “large” (750 px wide) size.
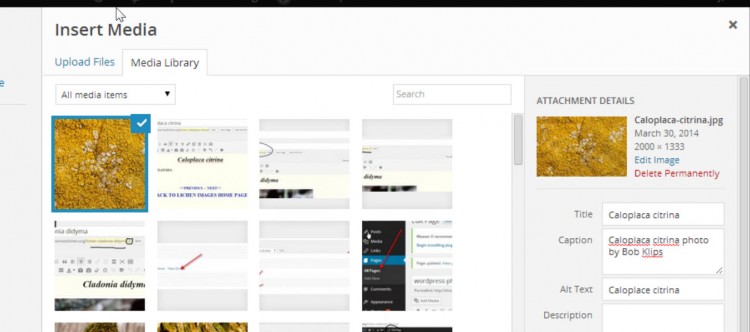
Like so:
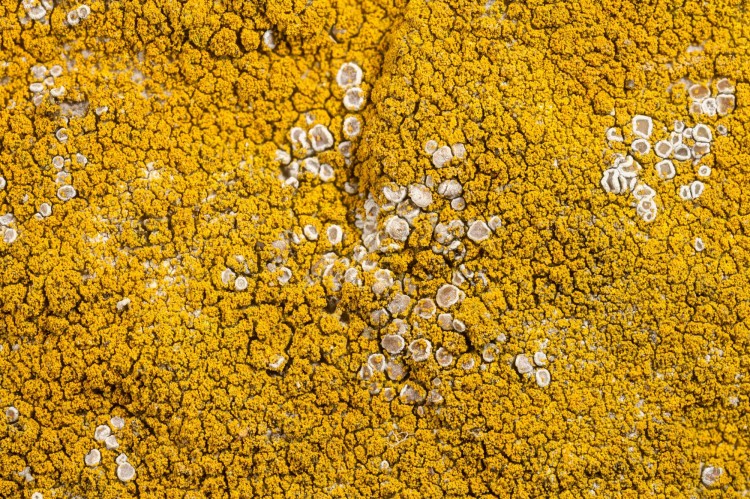
Caloplaca citrina photo by Bob Klips
Continue adding text, and “update” the page before leaving it.